How to Draw a Bird Flying Step by Step Easy
Birds are a favorite animal for kids. And whether it's because of the famous cartoon depictions throughout the years or their fascinating flying habits, we're here for it. We've prepared two tutorials on how to draw a bird, one birched on a tree and one flying in the sky. So grab your tools, and jump in!
How to Draw a Bird Birched on a Tree Branch
Here are the steps you should follow to draw a bird sitting peacefully on a tree branch.
Draw the Bird's Head
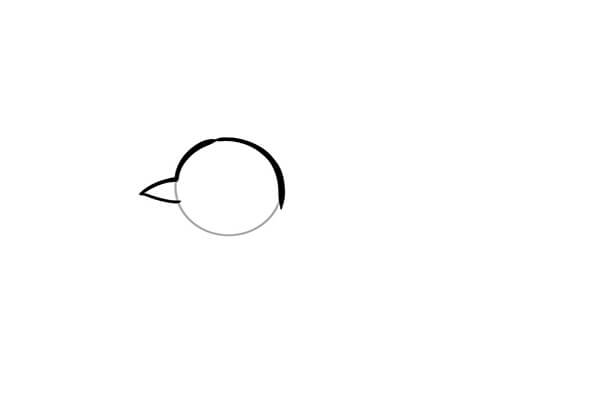
First, use your pencil to draw a medium-sized circle in the middle of your paper. Then, add a beak on the left side of the head that takes the shape of a horizontal triangle. Next, add a horizontal line in the middle of the beak. If you can't draw a perfect circle by hand, you can use a compass.
Draw the Bird's Body and Tail
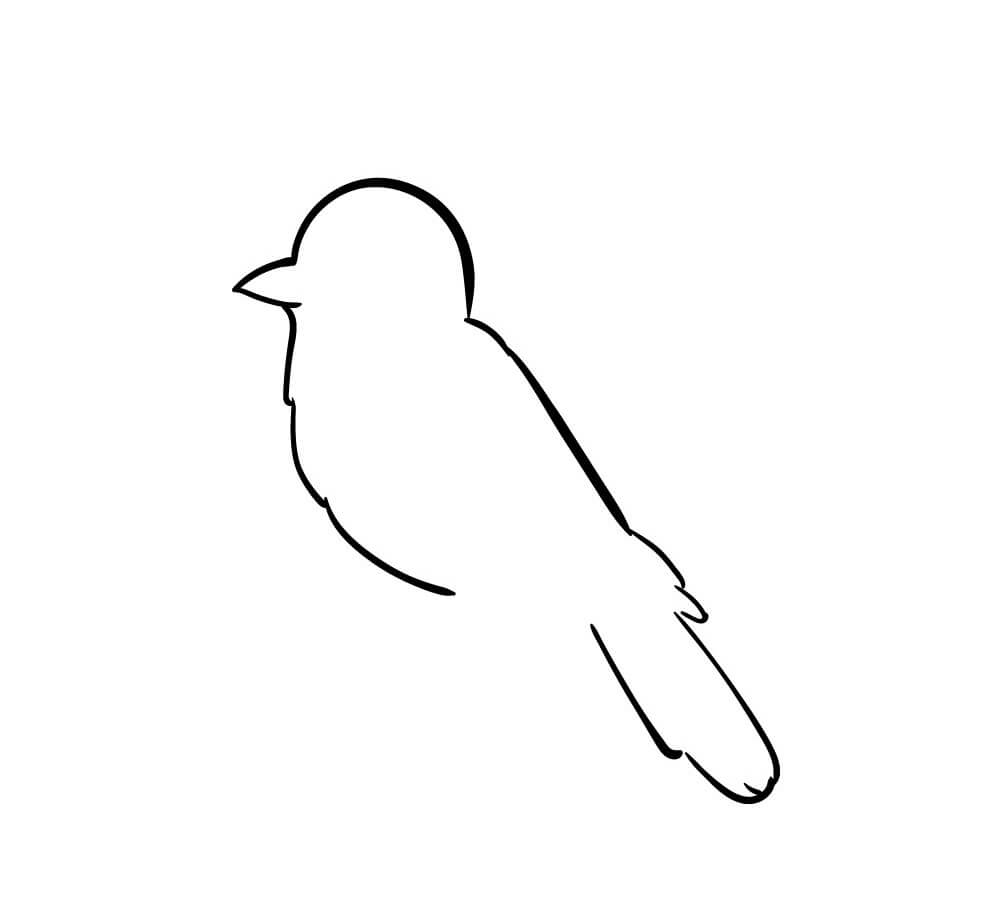
Under the bird's beak, draw connected curved lines heading downwards to resemble the bird's chest. Then, extend one curved line from the back of the bird's head to resemble the back. Next, draw a series of connected curved lines under the bird's back for the tail, and make sure they look like feathers.
Add the Legs
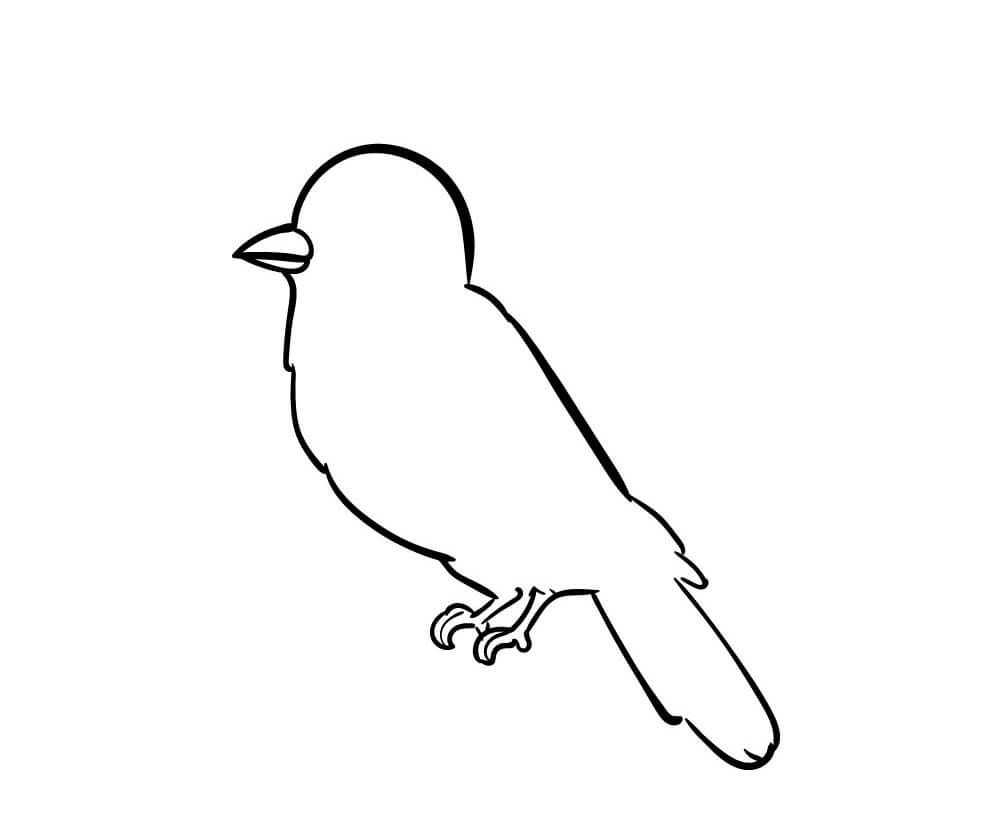
Draw two short lines extending from the chest for the bird's right leg, and draw another two lines right next to the tail. Then, draw three curved lines at the end of each leg to resemble the toes and another short curved line at the back of the foot.
Add Eyes and Body Details
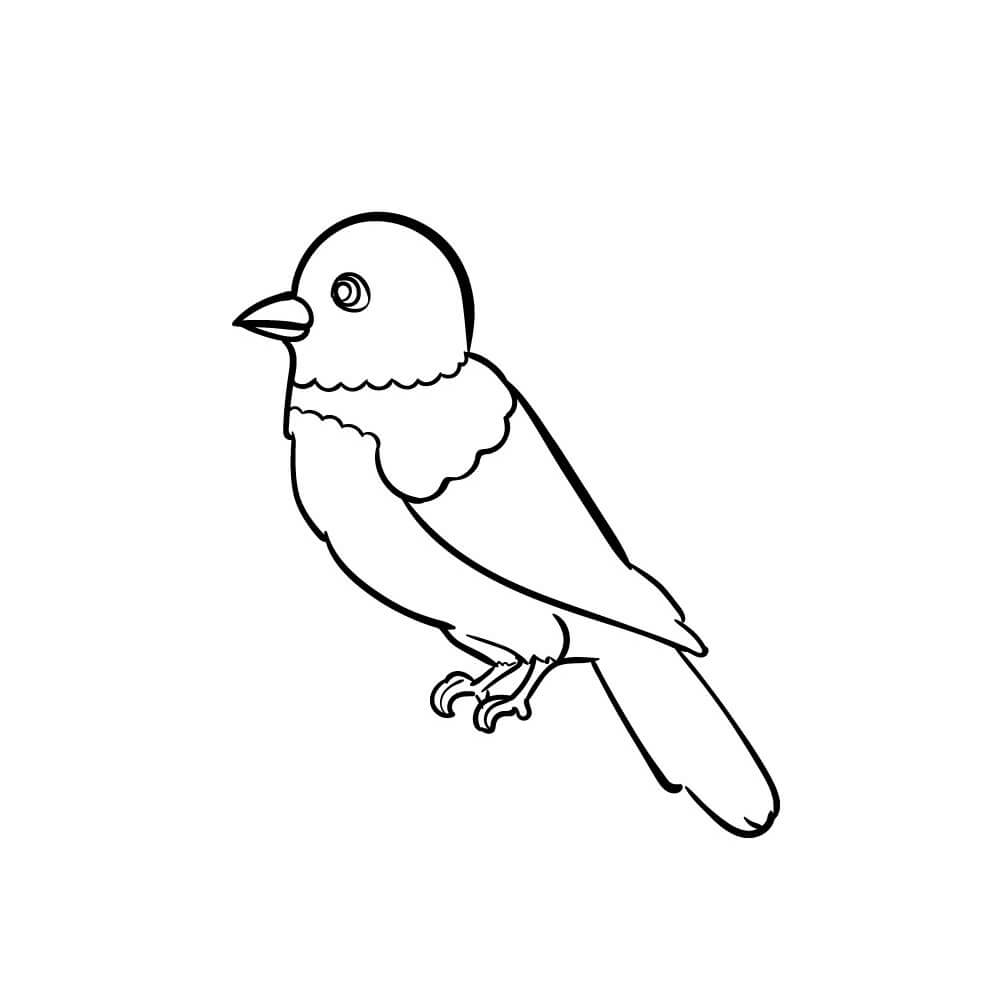
First, draw a small circle in the middle of the bird's head next to the beak. Then, draw a couple of circles within each other inside the eye to give it more depth. After drawing the eyes, you can add a few body details to make your bird look more realistic.
Begin by drawing a wavy line right under the bird's head to resemble the neck. Then, draw a curved line extending from the middle of the bird's body to its back to look like a folded wing. At the top of the recently-drawn curved line, draw a wavy line that extends from the bird's chest to its back horizontally.
Add a horizontal line between each leg and the rest of the bird's body to indicate the end of its feathers. Then, to make the legs look more realistic, draw many vertical lines within them. Finally, add a few curved lines on the bird's wings to resemble feathers.
Draw a Branch

Under the bird's legs, draw two thin horizontal lines to indicate the branch that the bird is standing on. Next, enclose both ends with short curved lines. Finally, if you have some free time on your hands, you can draw the rest of the tree.
How to Draw a Flying Bird
In this tutorial, we'll tell you how to draw a flying bird. Here are the steps you should follow.
Draw the Bird's Head and Body
Begin by drawing a perfect circle in the middle of the paper. Then, draw two curved lines that extend from two sides of the head toward the right side of the paper and let them meet at a sharp point.
Draw the Tail and Wings
First, draw two vertical lines extending from the bottom of the bird's body and enclose them with a curved line. The shape you just outlined is the bird's tail.
Next, draw two S-shaped lines that extend from the body and head upwards. These will resemble the bird's wing, so you should connect the two lines. For the other wing, extend two horizontal S-shaped lines from the bird's head toward the left side of the paper and join them.
Erase the Extra Lines
In this step, you should erase the extra lines. First, you should erase the line between the tail and the body and the line between the first wing and the body. Then, erase a small part of the head that intercepts the rest of the body.
Add the Bird's Flight Feathers and Beak
To draw the bird's beak, draw two curved lines heading downwards from the head and connect them at a sharp point.
Then, add flight feathers to the bird's right-wing by drawing connected wavy lines extending from the bottom part of the wing. Repeat the step to the other wing, then erase the straight lines you initially used. Your wings should have a straight upper line and a wavy bottom line to indicate feathers.
Finally, repeat the same steps to add flight feathers under the bird's tail.
Add Face and Body Details
To make your bird look more realistic, you should add some decorative details. For starters, draw a wavy line inside each wing parallel to the flight feathers you drew in the previous step. Then, sketch some curved lines on the bird's chest to indicate the presence of feathers and draw some vertical lines inside the tail.
Finally, draw a small circle in the middle of the bird's head for the eye and three tiny vertical lines above it for the eyelashes.
Draw the Legs
To draw the bird's legs, you should draw three irregular vertical oval shapes connected together and to the right side of the body, right above the tail. Then, repeat the same step on the left side of the body, but draw the oval shapes outside the body instead of inside it.
Color the Bird
While this step isn't necessary, it'll be fun for your little ones. You can give them colored pencils, watercolors, or acrylic paints to breathe life into their drawing. You can also let them choose whatever color they want to color the bird.
See also: How to Draw Clouds
To Wrap Up
If your kids love chasing birds around the neighborhood, you can teach them how to draw the ever-cute animals. And whether they want to draw a flying bird or a bird standing on a branch peacefully, they'll be able to do it in no time with our easy tutorials.
andersonfavered1941.blogspot.com
Source: https://novacelestia.com/how-to-draw-a-bird/
0 Response to "How to Draw a Bird Flying Step by Step Easy"
Post a Comment